
The bumper of one of our Turtlebot2 was jammed. The center and left side were jam and could not push in. It turned out that the fixture for center bumper mechanism came out of its holder. It was probably pushed up too much. It is now fixed.

Kobuki has gone out of production and it is difficult to find troubleshooting information for it. We couldn’t find its mechanical drawing. We couldn’t find tear down and repair information. Fortunately, it was well designed and we figured how to open it up.
Here we keep notes of how we have fixed the bumper.
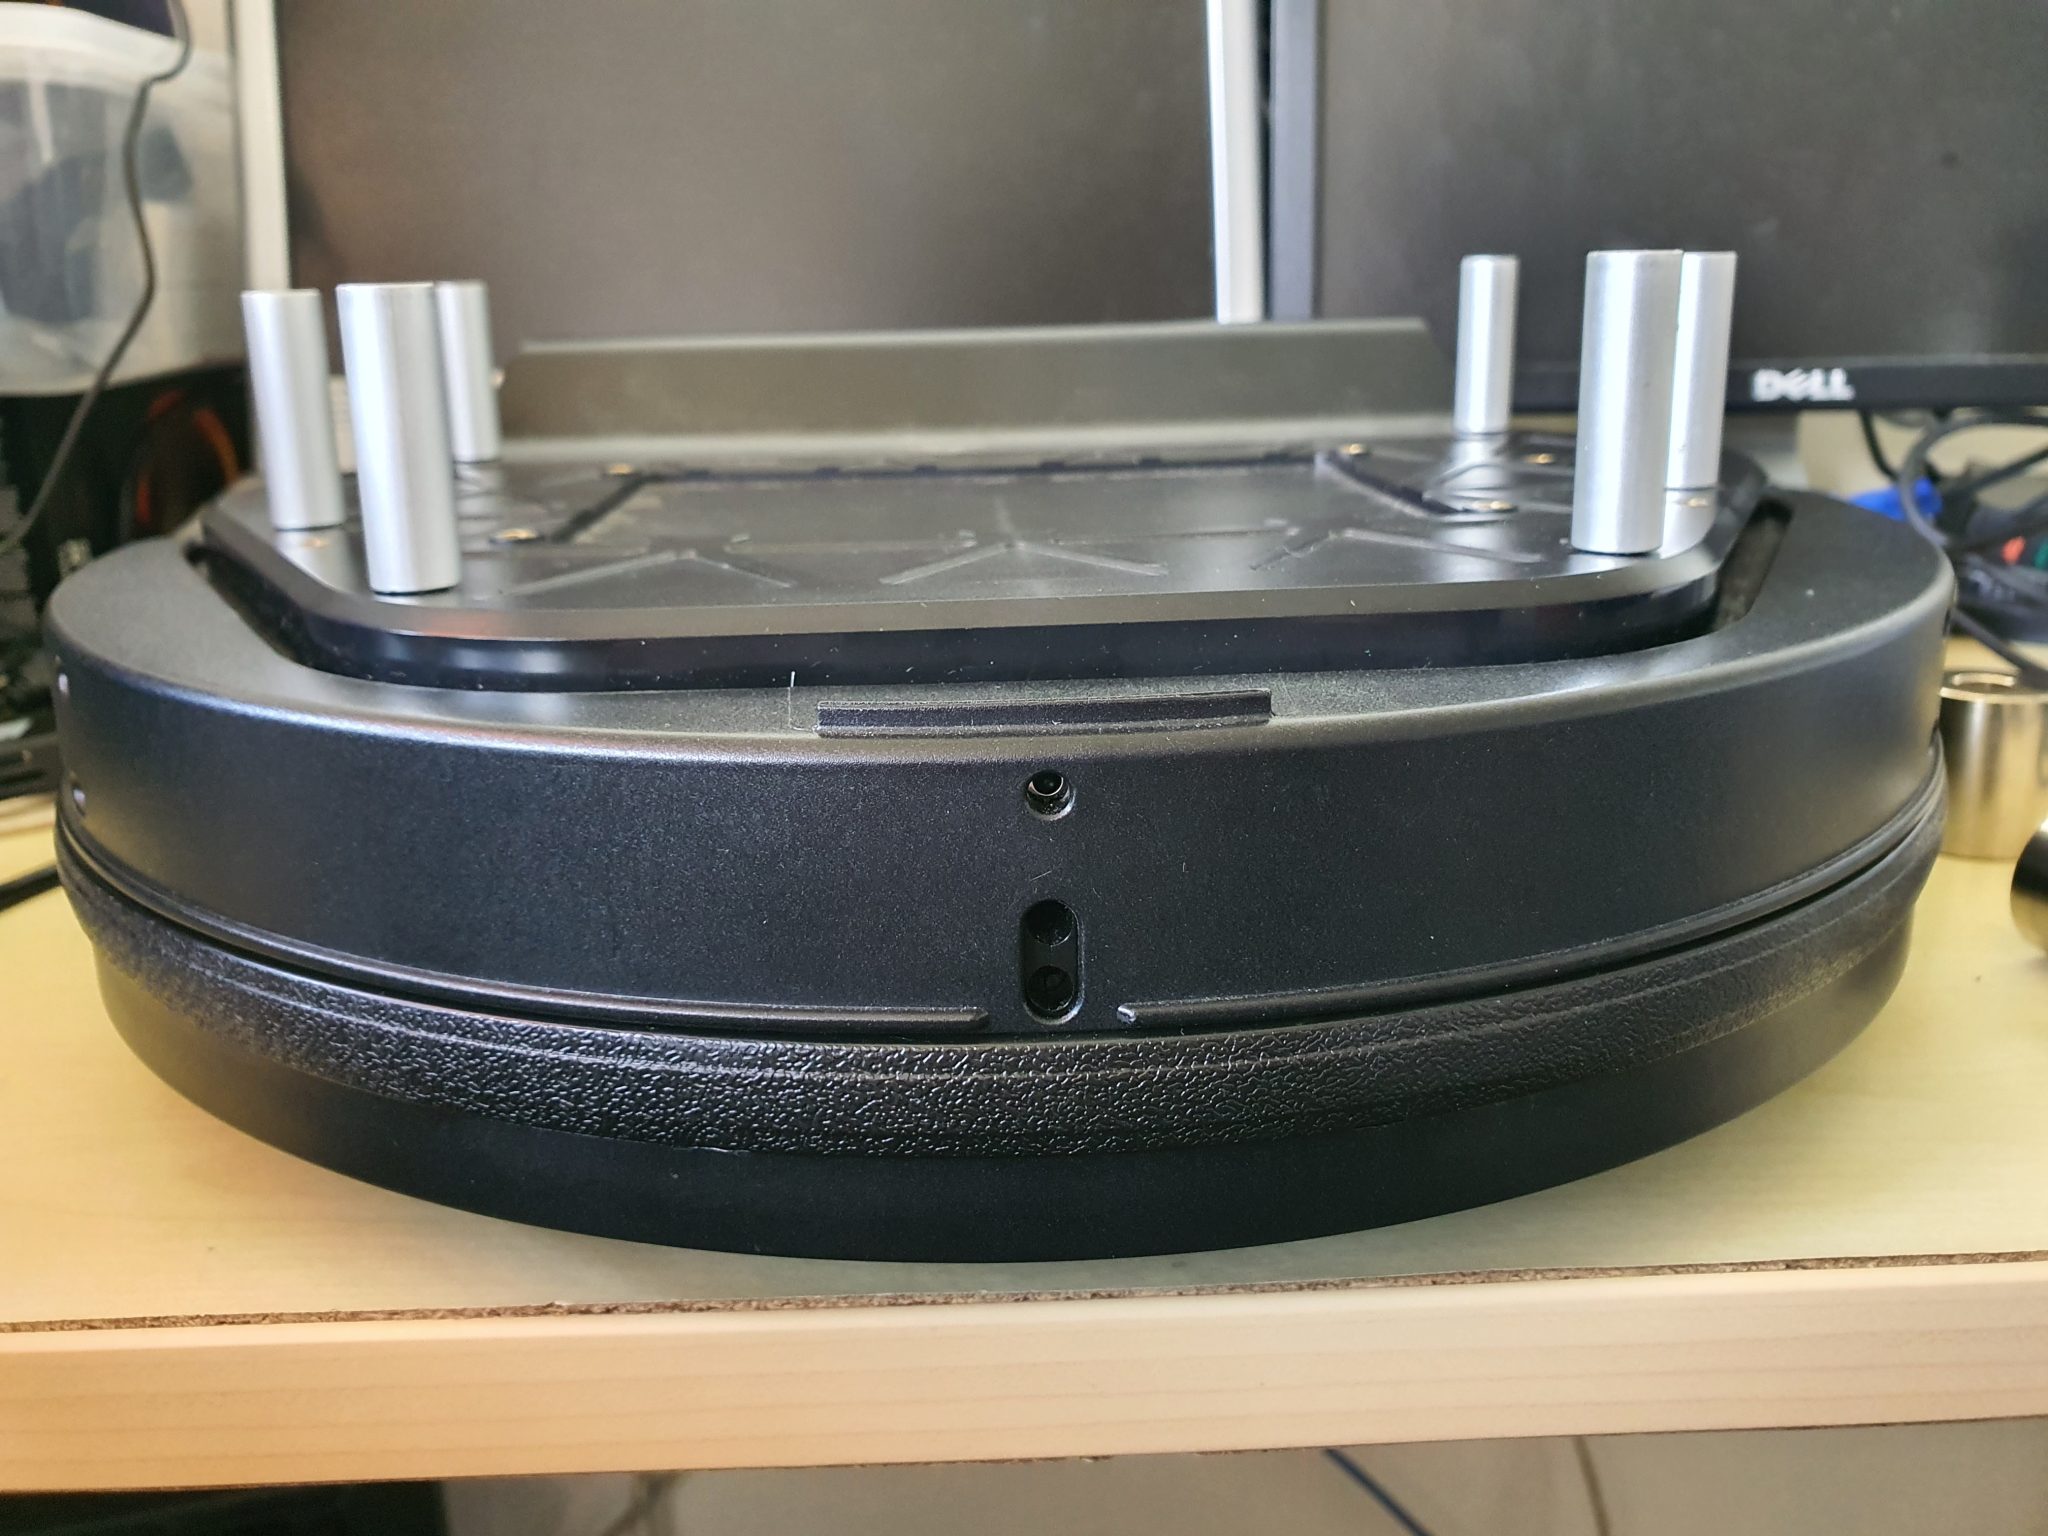
First ensure the battery has been removed. Pry open the bumper guard strip (see picture above). There are obvious pry slots. Once the guard strip has been removed, there are four screws (see picture below) that fix the bumper to its supporting bracket. Unscrew these screws to remove the bumper.

The bumper bracket can be investigated. The left and right bumper switches can be checked. The docking IR sensors (center, left, right) are also accessible now.


Unfortunately the problem of our Turtlebot2 was deeper. The center bumper switch is deep inside. We had to remove the top plate cover. The top plate is fitted with eight screws. They are accessible from the bottom. Turn over the Kobuki and unscrew the eight screws: two front, four back, two next to the wheels (one screw covered by the QC sticker).

The cables connecting the top plate and the bottom/base plate are short. We need to unplug them. They are accessible from the back.


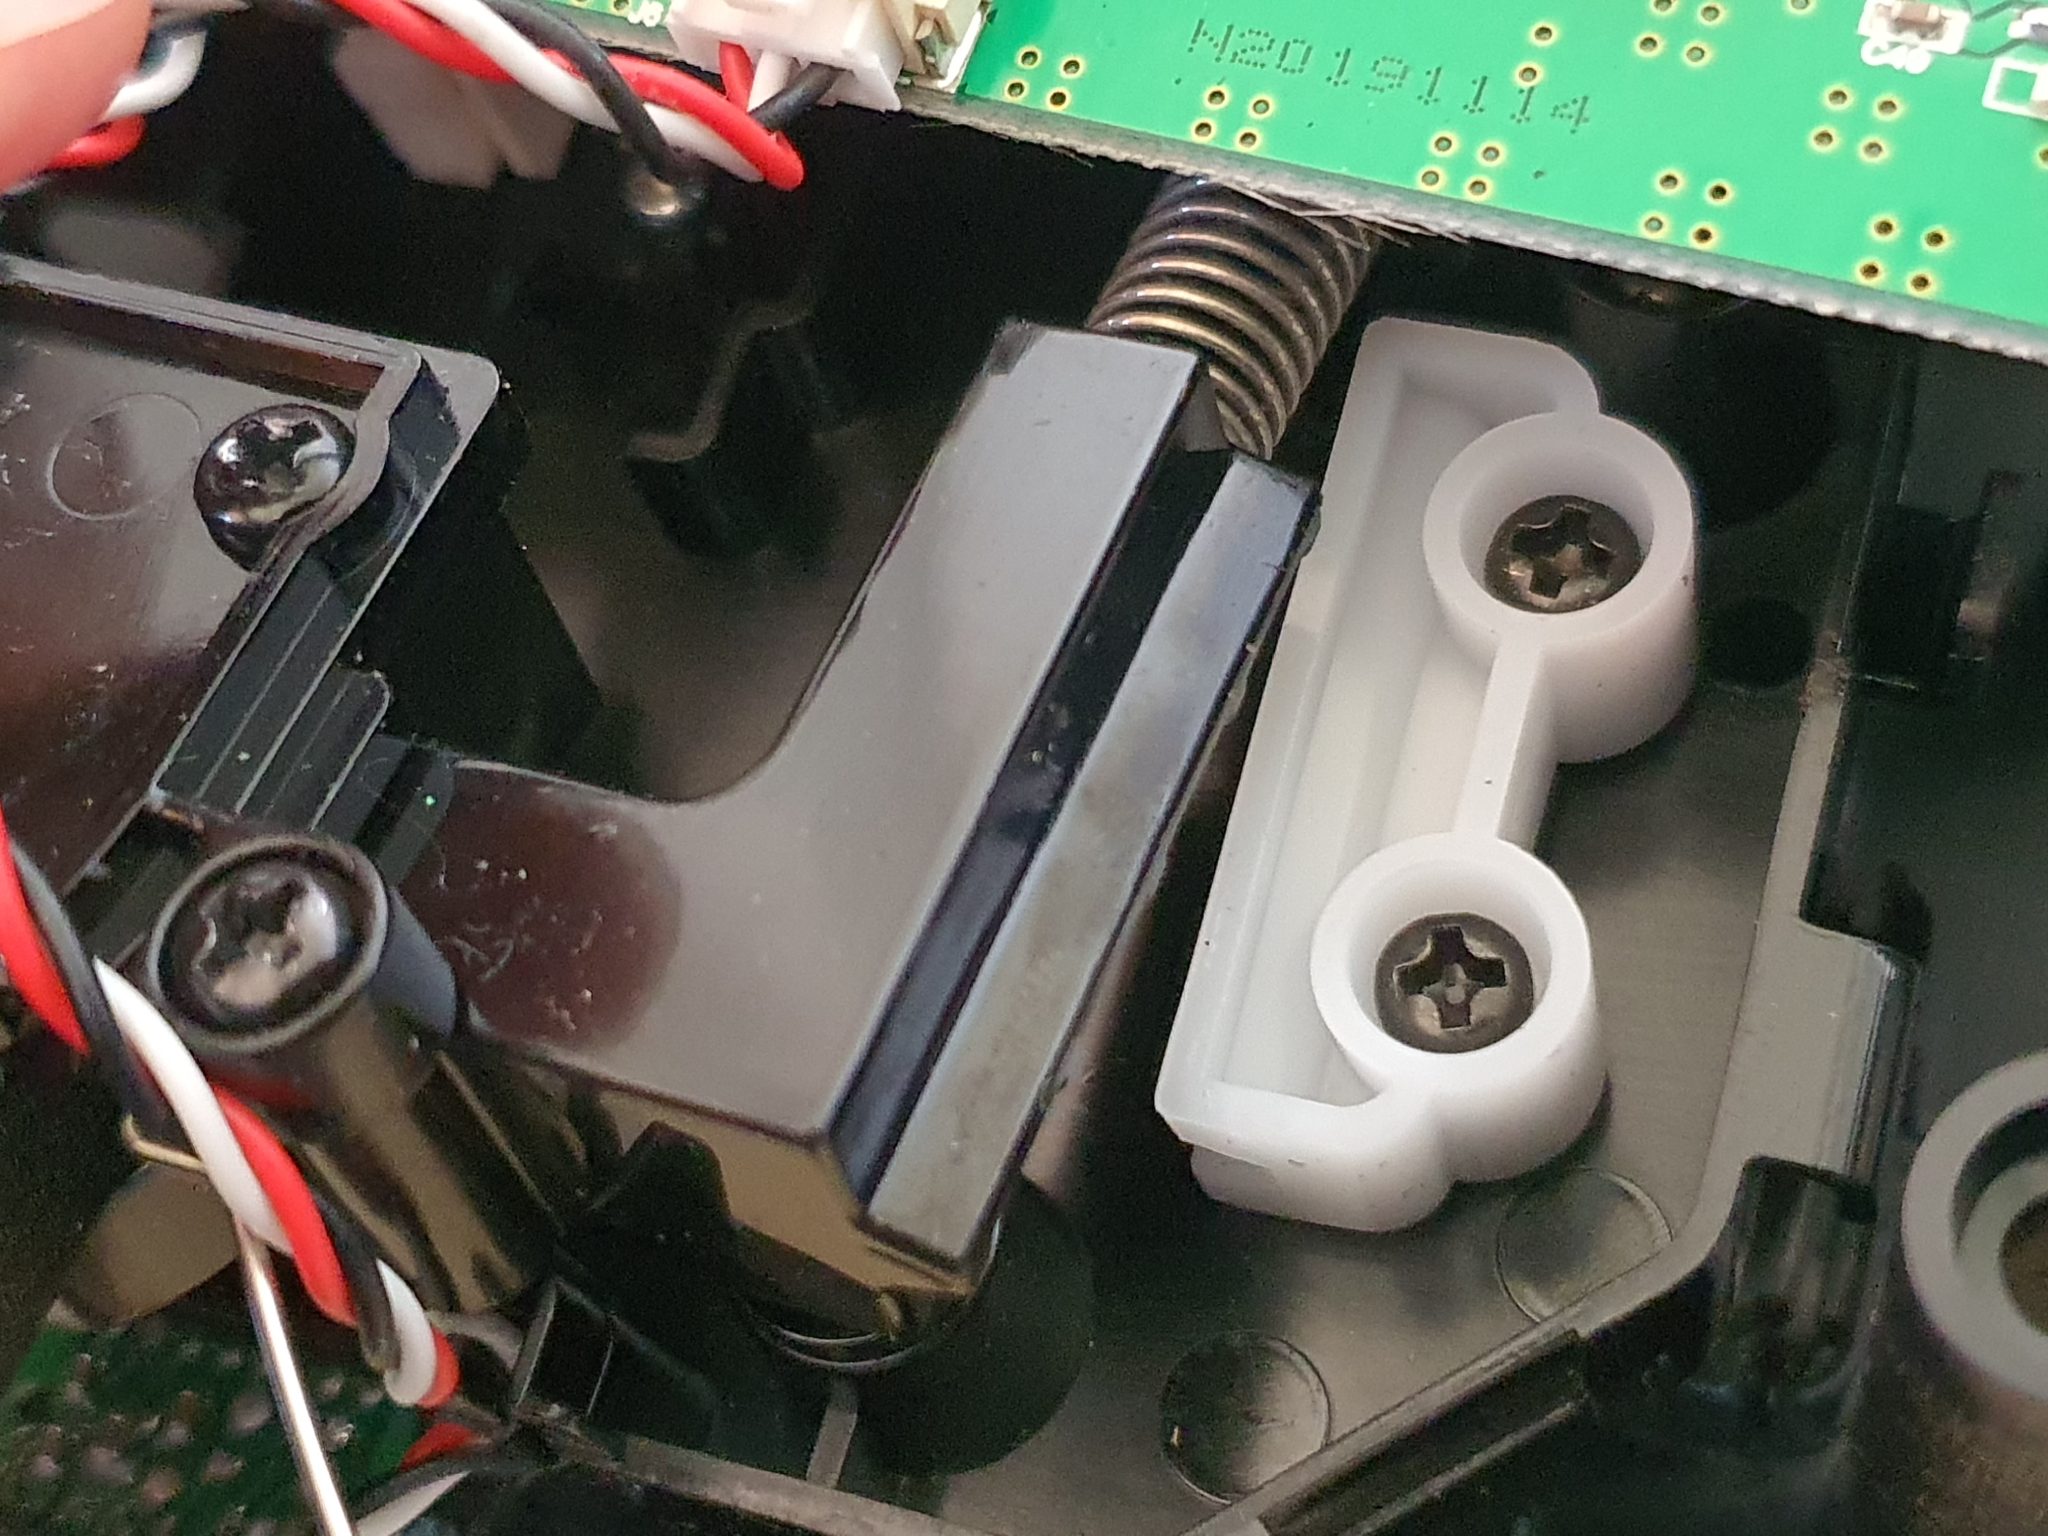
The center bumper switch is underneath the circuit board. There are four screws to unscrew to lift the circuit board. We did not unplug the wires. There is enough space to work with the center bumper mechanism with the circuit board lifted. The center bumper mechanism is the black plastic block with spring at two ends. There is no need to unscrew any of the screws on the black block. In the second image below, the black plastic block came out of the slot in the white bracket. We opened up the white bracket at one side and place the black block into the position.


We have kept the notes on testing Kobuki hardware in this page: https://github.com/ailabspace/turtlebot2-noetic/blob/main/install.md#test-with-kobuki-packages-not-configured-with-ros-navigation-stack.